


In this video I show how I removed the swirl vanes from my OM648 engine, cleaned sludge from the intake system, and blocked off unnecessary ports using an aluminum braze with aluminum plugs I made.
Motivation: Sludge!
In my previous (Substack Exclusive) video, I share graphics on why the intake system needed to be cleaned and get some improvements.

Not only did I need to remove sludge buildup in the intake system, I wanted to be sure that it would never return. The sludge found in the intakes of modern diesels is caused by a combination of two ingredients:
Crankcase Ventilation Gasses. All reciprocating engines, whether they are diesel, gasoline, natural gas, propane, or other fuel types, have blow-by gasses that work around the piston rings and make their way down into the engine’s crankcase. These gasses meet up with oil sloshing around and these gasses need to go somewhere. When I was a child these gasses would simply be vented to the air, but modern engines pipe them into the intake system, so oil mist and water vapor are always present in the intake. It would probably be good to limit this with a catch can, but I haven’t done this to Evonne, yet. I did it on Mary Lou, my wife’s 2008 ML320 CDI with an OM642 engine, but I don’t think my inexpensive solution has really done much to reduce the vapors. I might eventually add a ProVent, but the oil mist isn’t my largest concern.
EGR (exhaust gas recirculation) Soot. These systems are quite beneficial on gasoline engines, but create a nightmare on diesels. The problem is that diesel exhaust contains some soot. When that soot is brought into the intake, the particles combine with the oil mist and water vapor from crankcase ventilation and create sludgy, nasty little drops of crud. Some of these will stick to the walls of the intake system. Over time the sludge builds up and restricts air flow, hurting the engine’s performance and fuel economy, while shortening its life.
The EGR system was removed when I disassembled the intake system. It will not be reinstalled. In the video I show how I modified things so that the engine will operate without EGR to maximize perfomance, efficiency, and longevity. In my writeup below, I share some other beneficial details that aren’t in the video.
Removing the Swirl Vanes
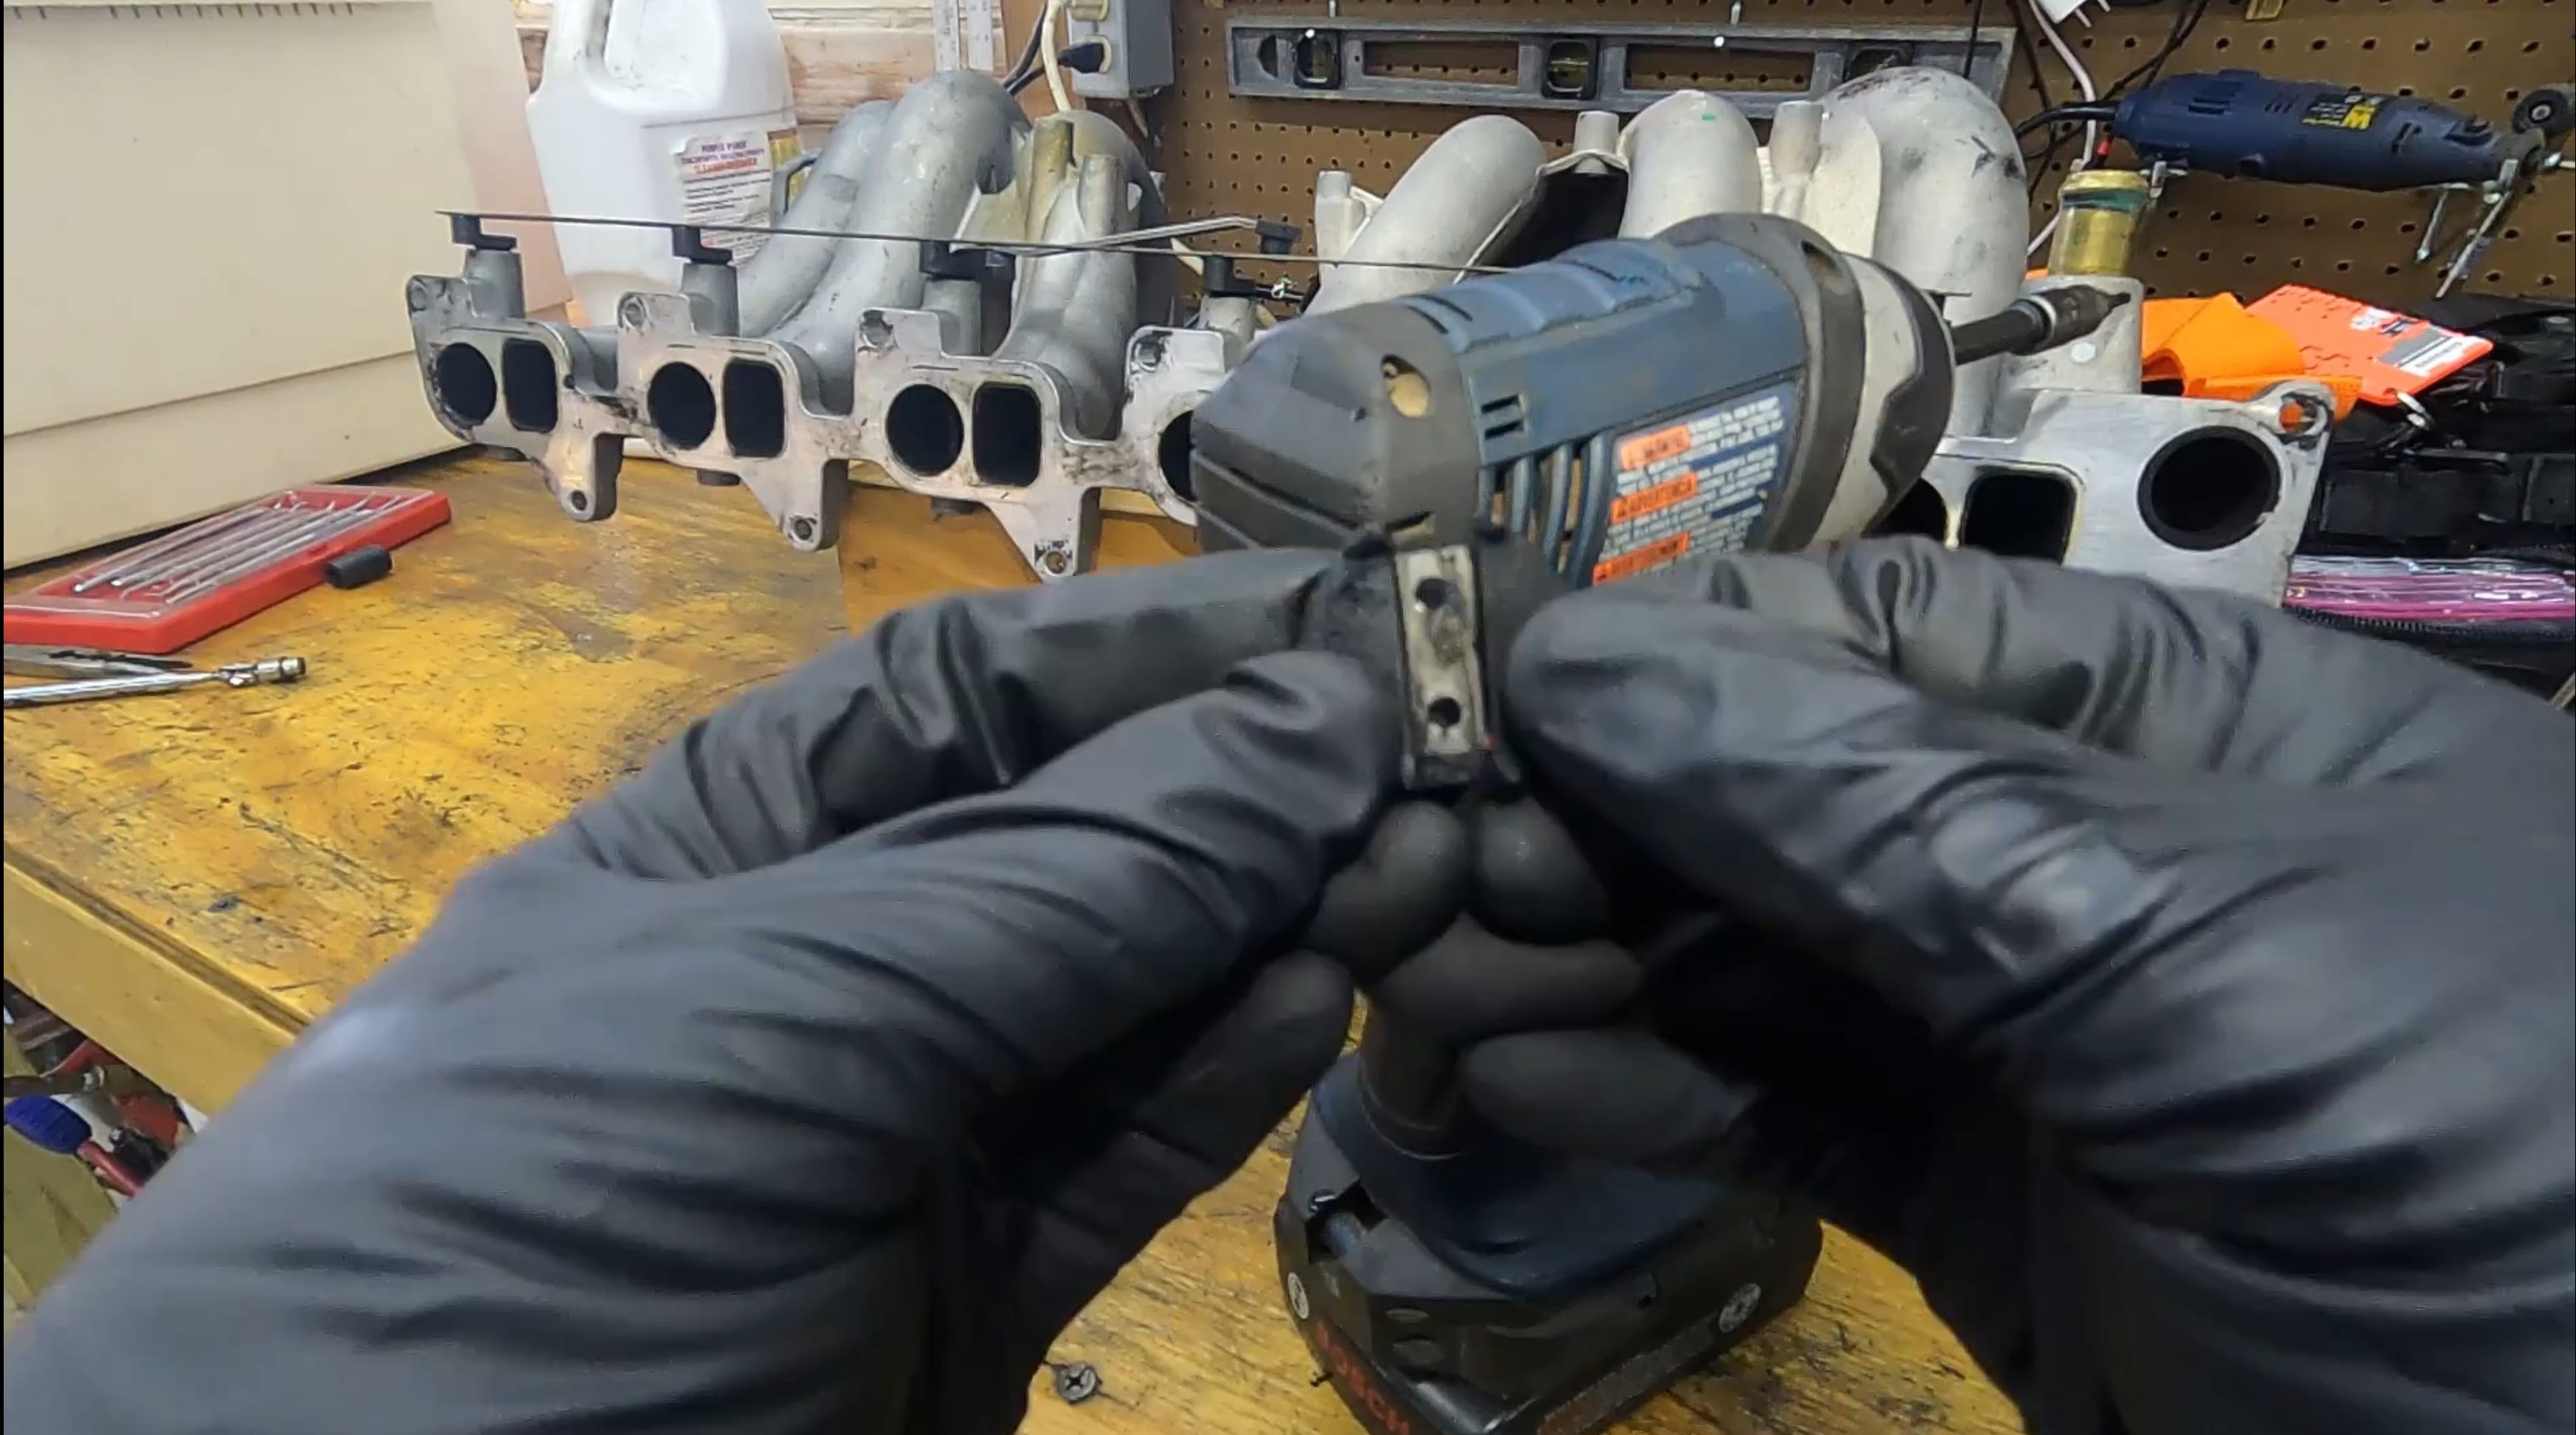
The round ports on the intake manifold each contain a swirl vane. These help mix EGR gasses, which will no longer be present, and they provide an unnecessary restriction in the system. I removed mine.
First I unscrewed the torx screws that connect them to the shaft. Then I had to use pliers to wiggle them to break the braze that holds them together. They are in three pieces: the middle that attaches to the shaft, plus two wings that make the round shape and have pedestals on the top and bottom that keep them from being removed in one piece.
With these removed, I could easily pull the shafts out.
Cleaning the Intake
I put countless hours into cleaning my intake manifold when I had it off. I experimented with using ultrasonic cleaners. The tub-type cleaner helped clean the outside of the intake manifold, but didn’t work well for the inside. The aluminum walls of the runners shielded the sludge from the ultrasonic waves. I bought a second small ultrasonic cleaner that I slipped inside the intake’s plenum and this really helped to remove sludge from the runners.
After that, I used a borescope from Amazon that allowed me to look inside the runners and plenum. After identifying where grunge was still present, I poured mineral spirits into the manifold and let it sit for a bit to dissolve the grunge. Then I used a round scrub brush with a wire handle that I bent until I could reach the needed parts of the runners. After this, I power-washed the intake.
Since then, I’ve heard that there are DIY vapor blasting techniques that could have saved me a bunch of time. I’ll look into that next time I do this!
Removing the Mixer Tube
I removed the mixer tube from the mixer assembly, which should allow for smoother airflow by removing an obstruction.
Plugging up Unneeded Holes
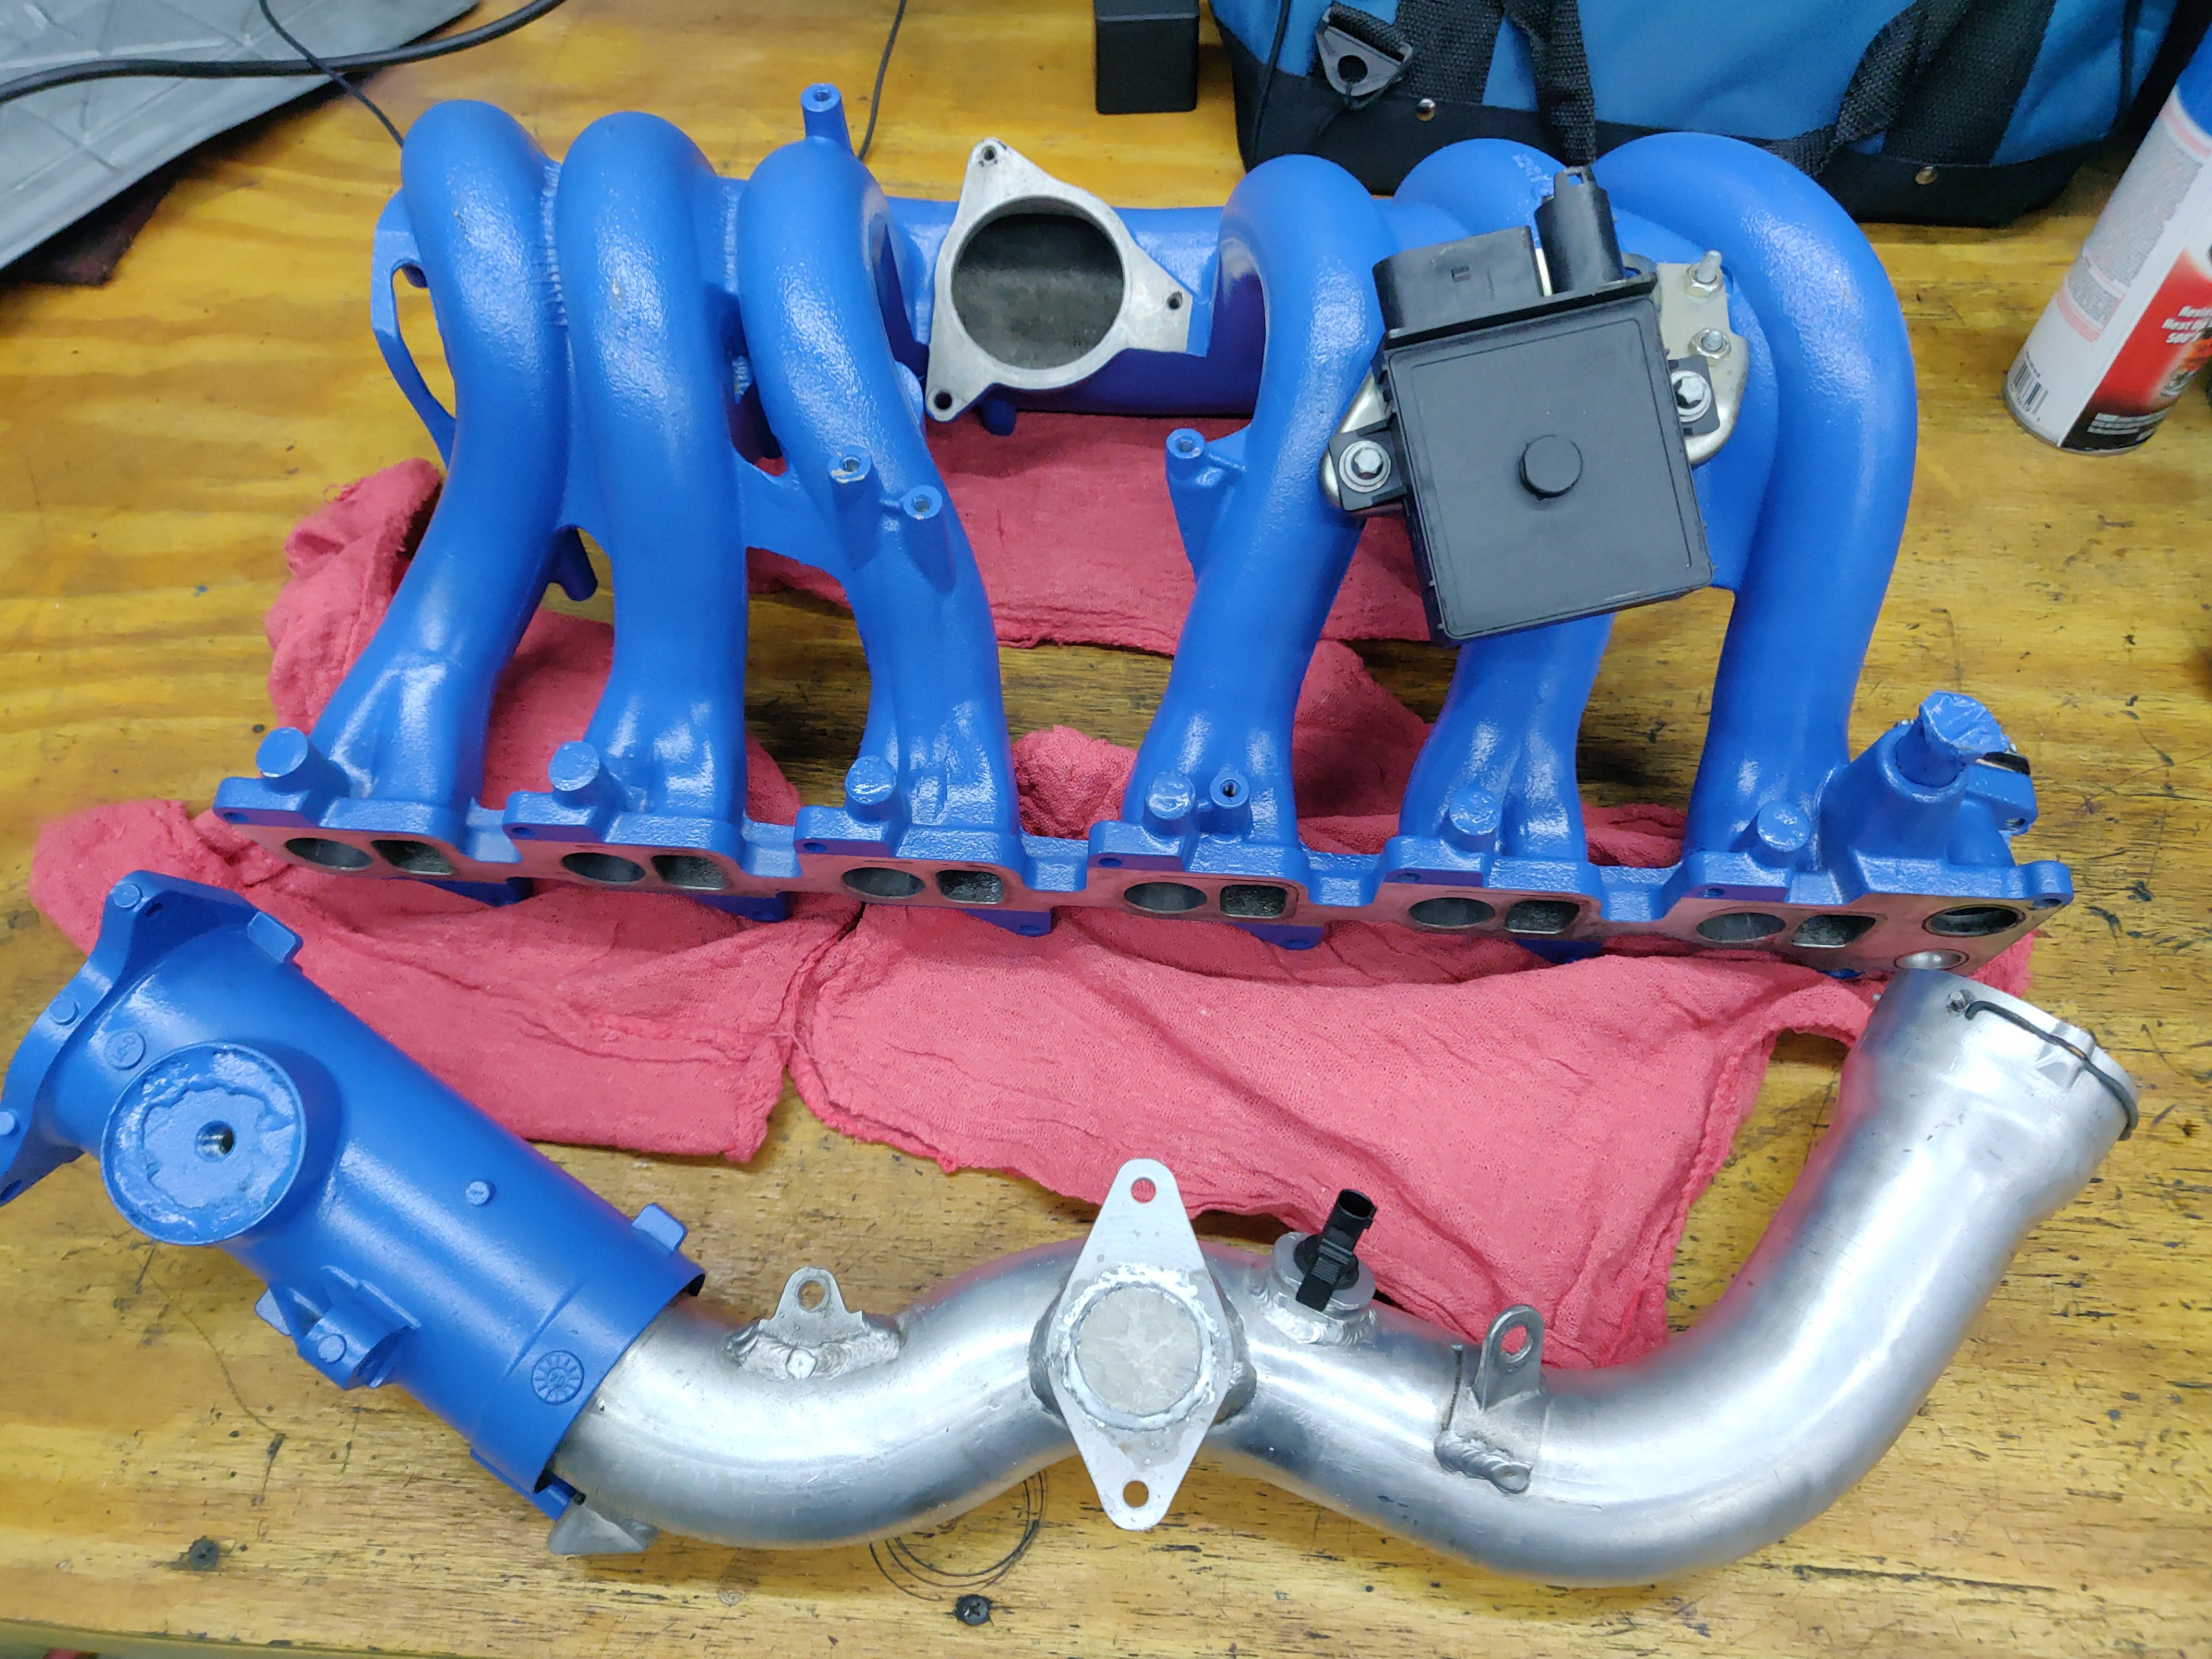
With everything cleaned up I brazed the following closed on my intake system:
The shaft holes from the swirl vanes.
The hole where the EGR gasses once entered the mixer pipe.
The hole where the resonator used to be.
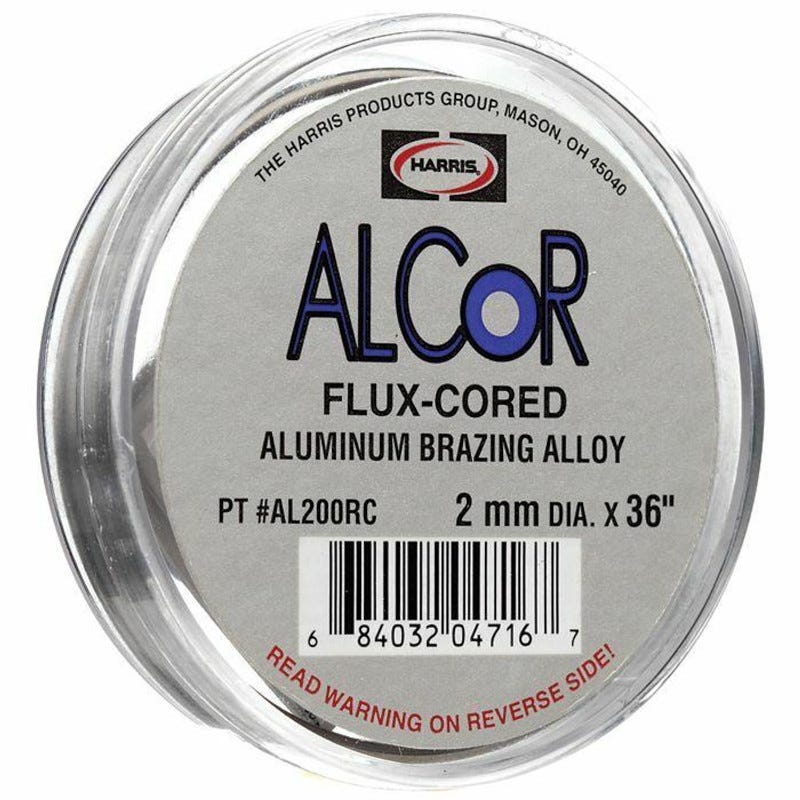
I used Alcor flux-cored alloy initially on each braze to ensure that flux would be present to maximize adhesion.
After the initial braze was started, I kept adding braze using the much less-expensive Benzomatic braze alloy without any flux to fill voids and ensure that I maximized the effectiveness of each braze. They both melted at the same temperature, but was it a bad idea to mix them, or even to braze the holes closed to begin with? We will see!

On the intake I quickly found out that the propane torch I normally use wasn’t heating the piece fast enough and the large aluminum intake was acting like a huge heat sink. I had to go to MAP gas that is hotter than propane. Neither of these are hot enough to melt aluminum, but the braze material has a much lower melting temperature (though much higher than the temps we’d expect to see in an intake system).
When I got done brazing all of the holes, I painted the parts with engine paint. We’ll see how well all of this holds up!
Please join in on the comments, I’d like to hear what readers/viewers have to say!
—Mark-A-Billy

Share this post